The following article will instruct you on how to configure your email on an Android device using the default email client.
How to Configure POP3 Email Account for Android Phones. Please check the following steps:
Using the Android Default Email Client.
-
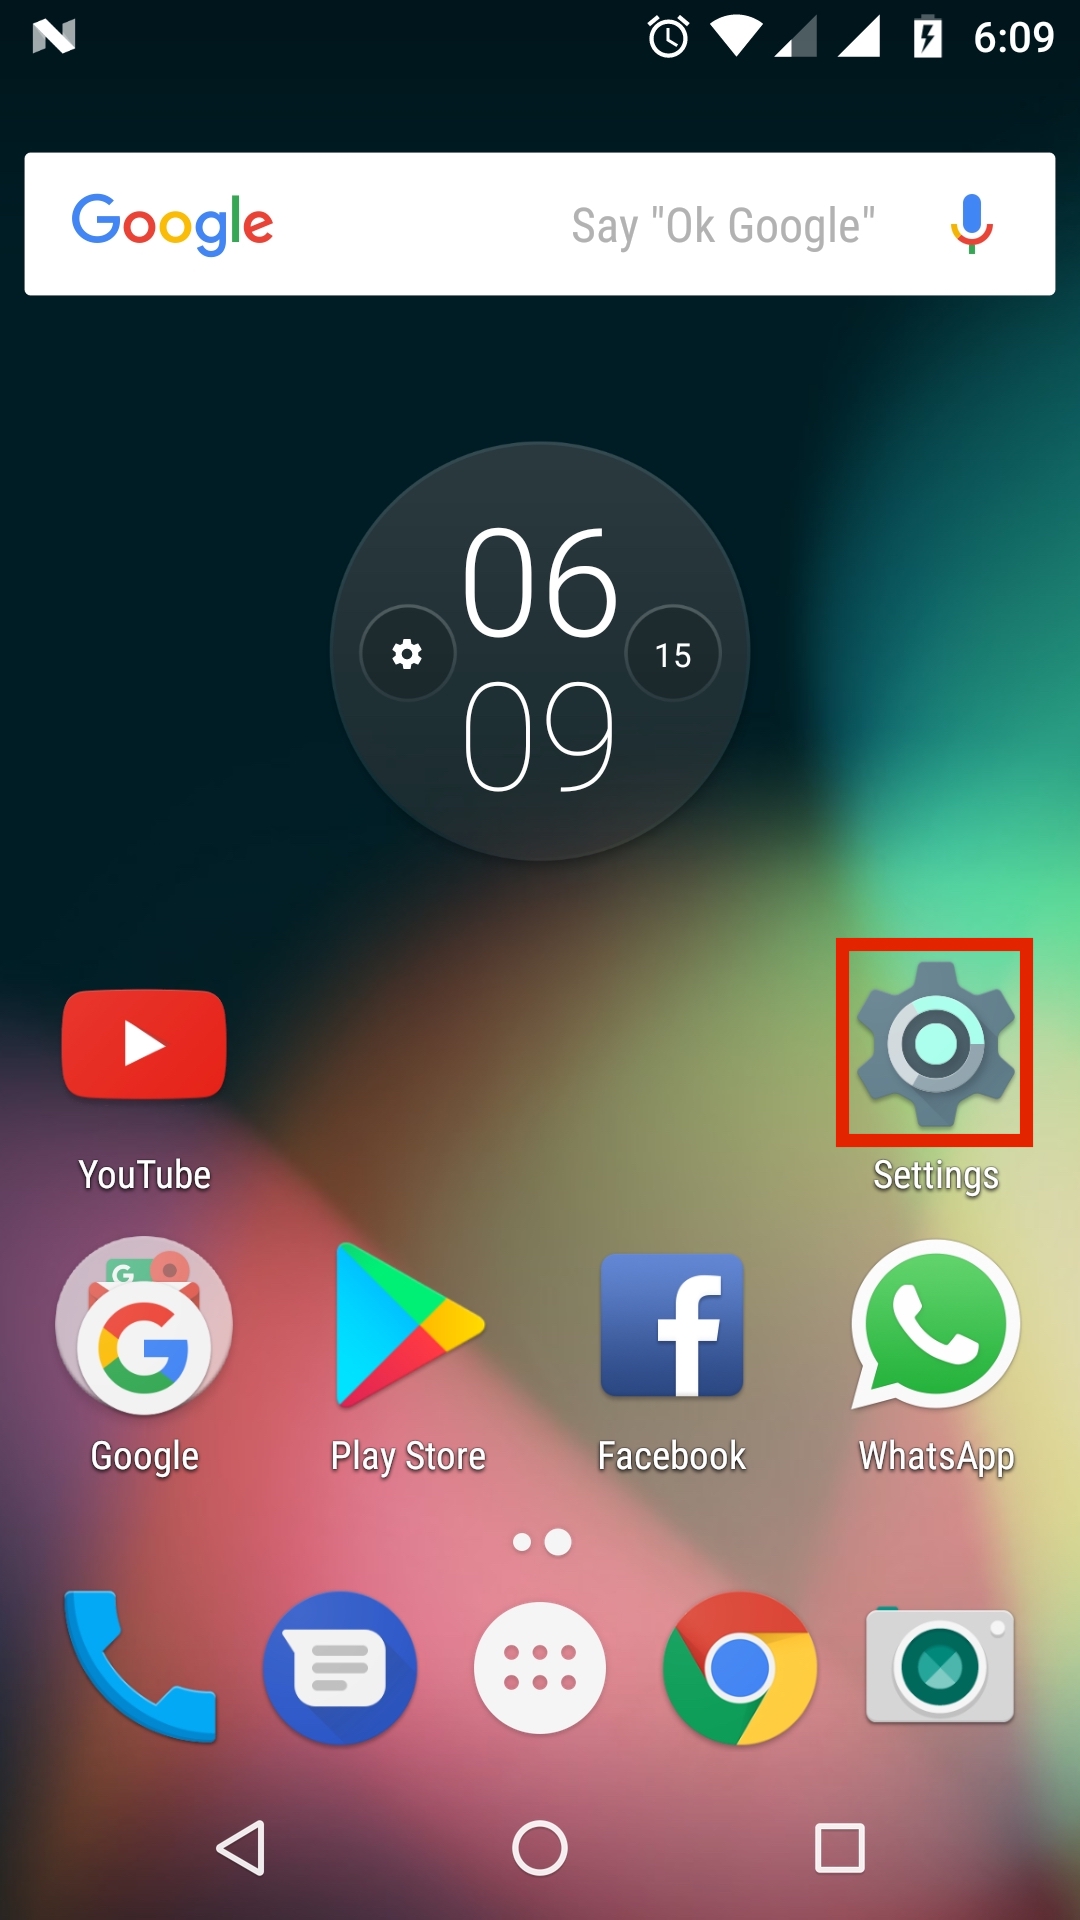
- Open your Android phone settings.

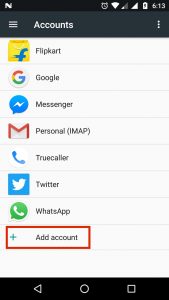
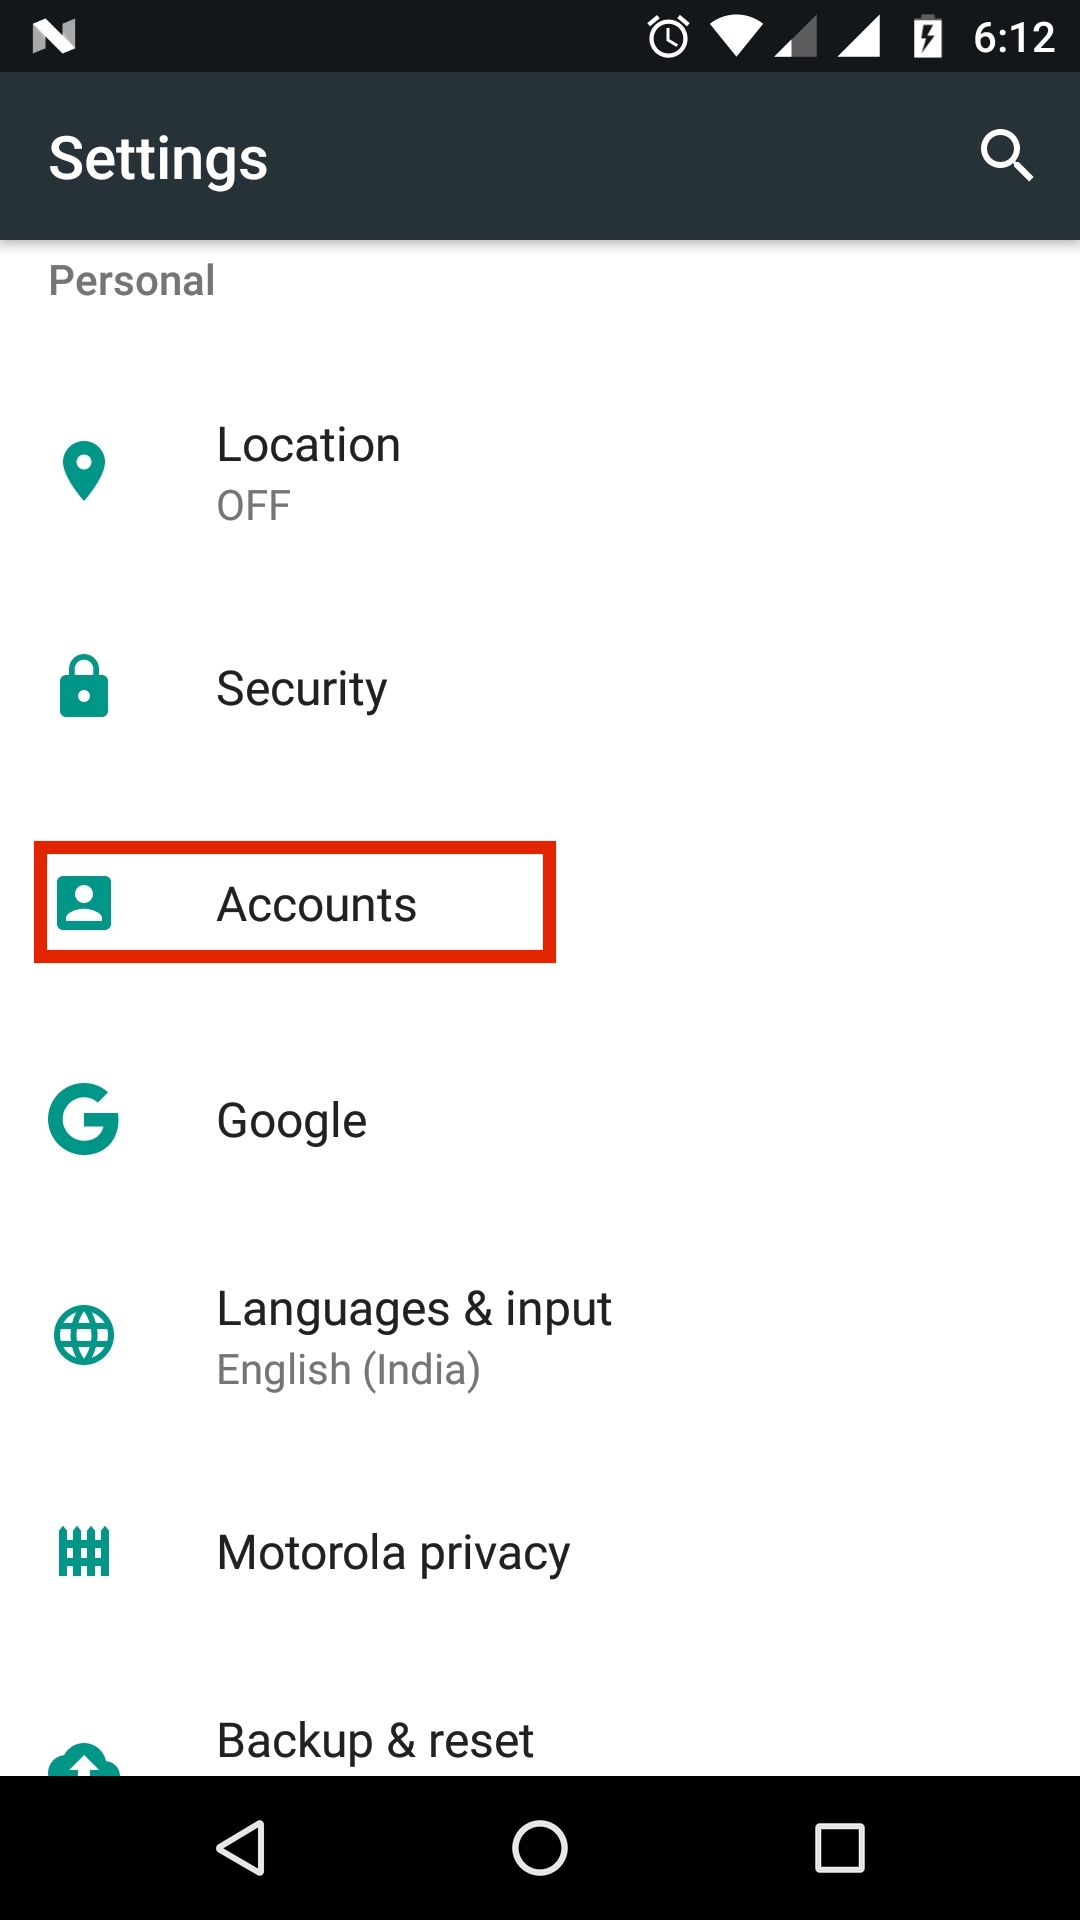
- Scroll down and select Accounts.

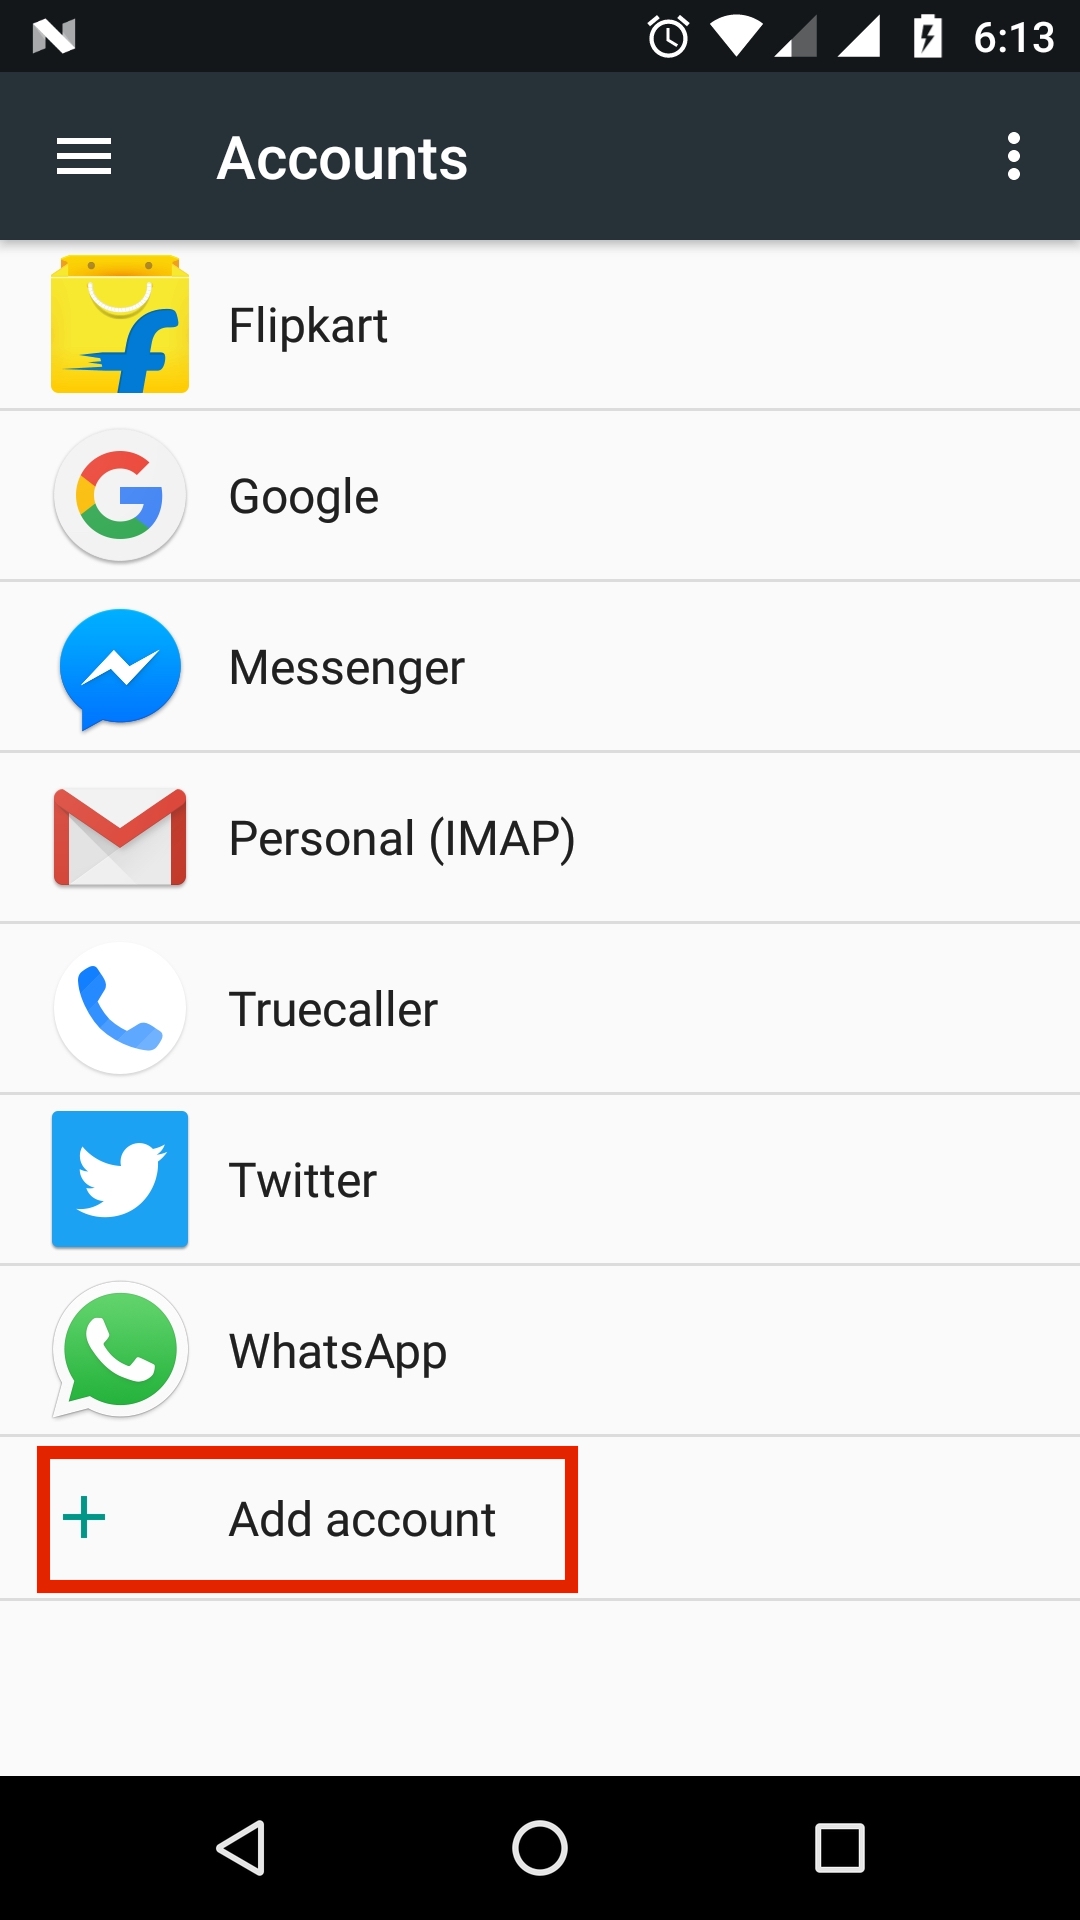
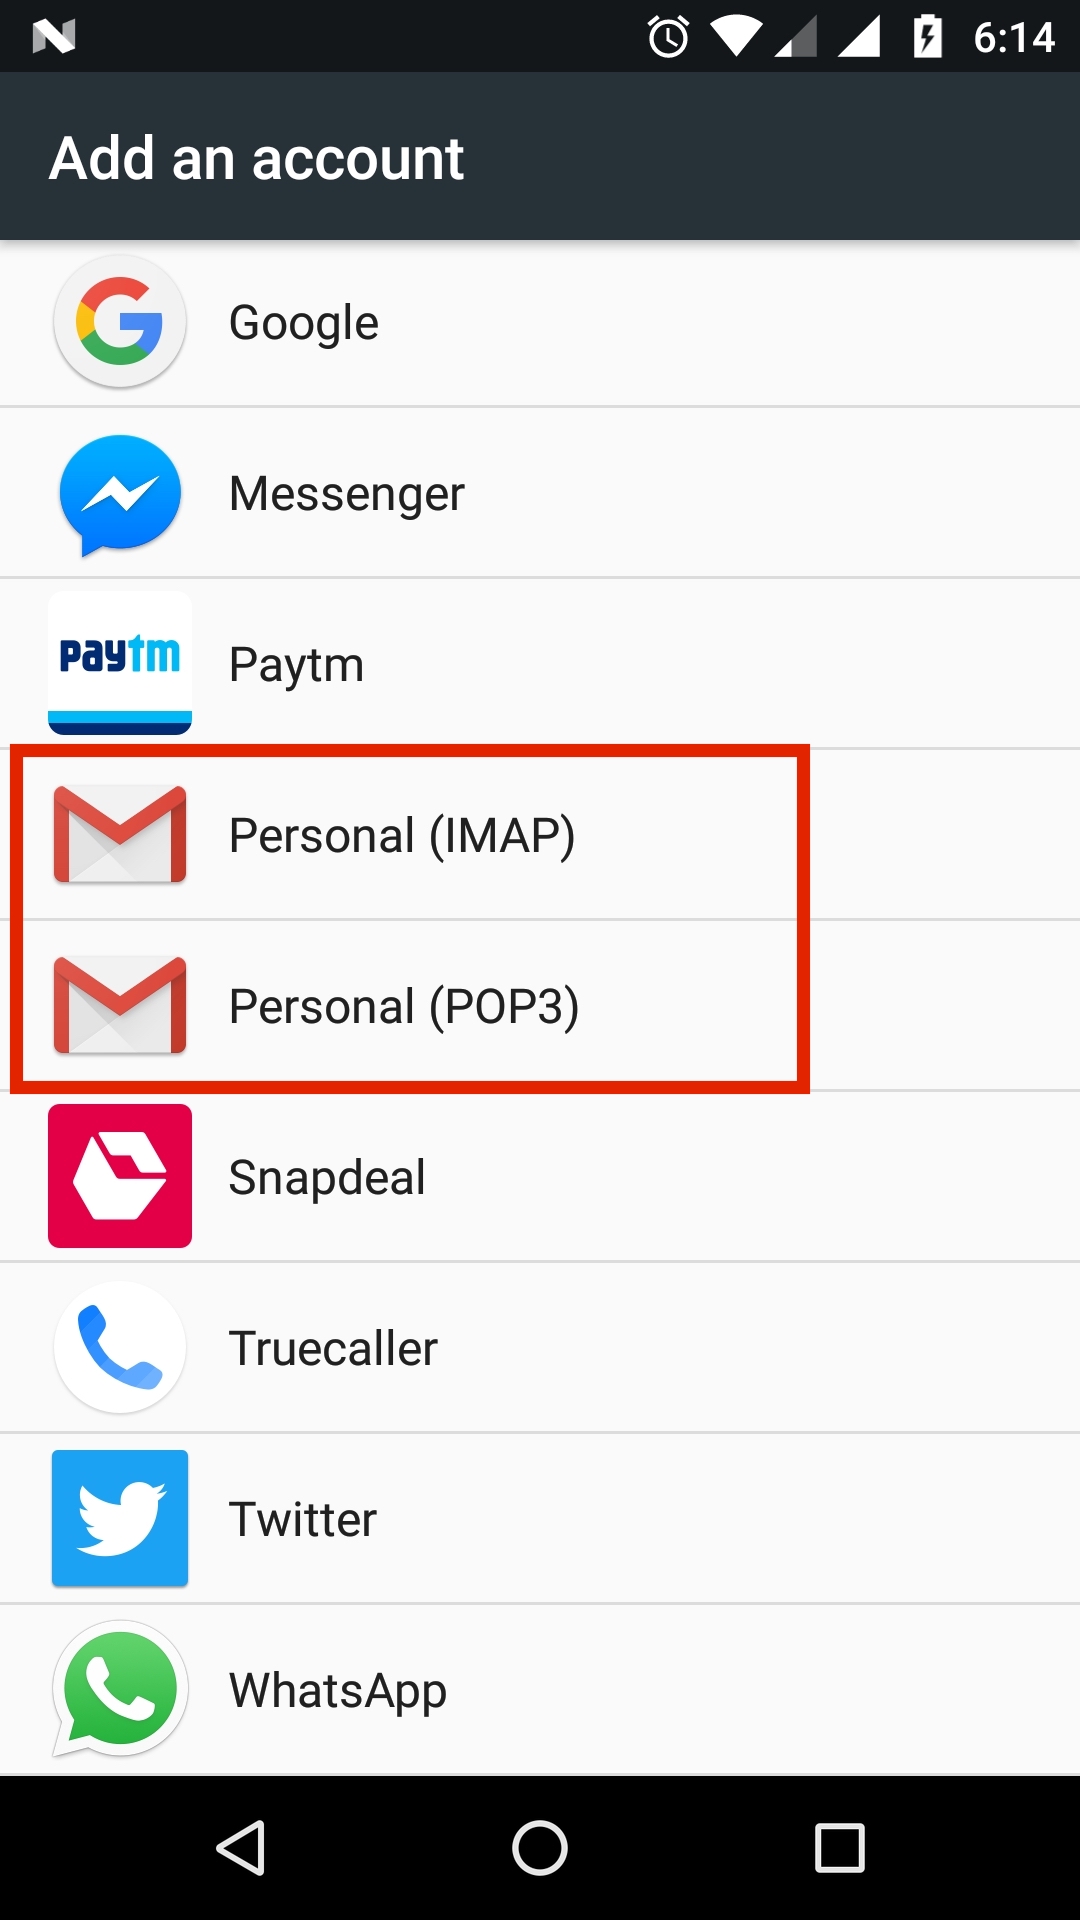
- Select Add Account.
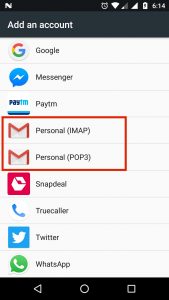
- Select POP3 for your account type.
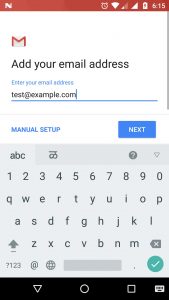
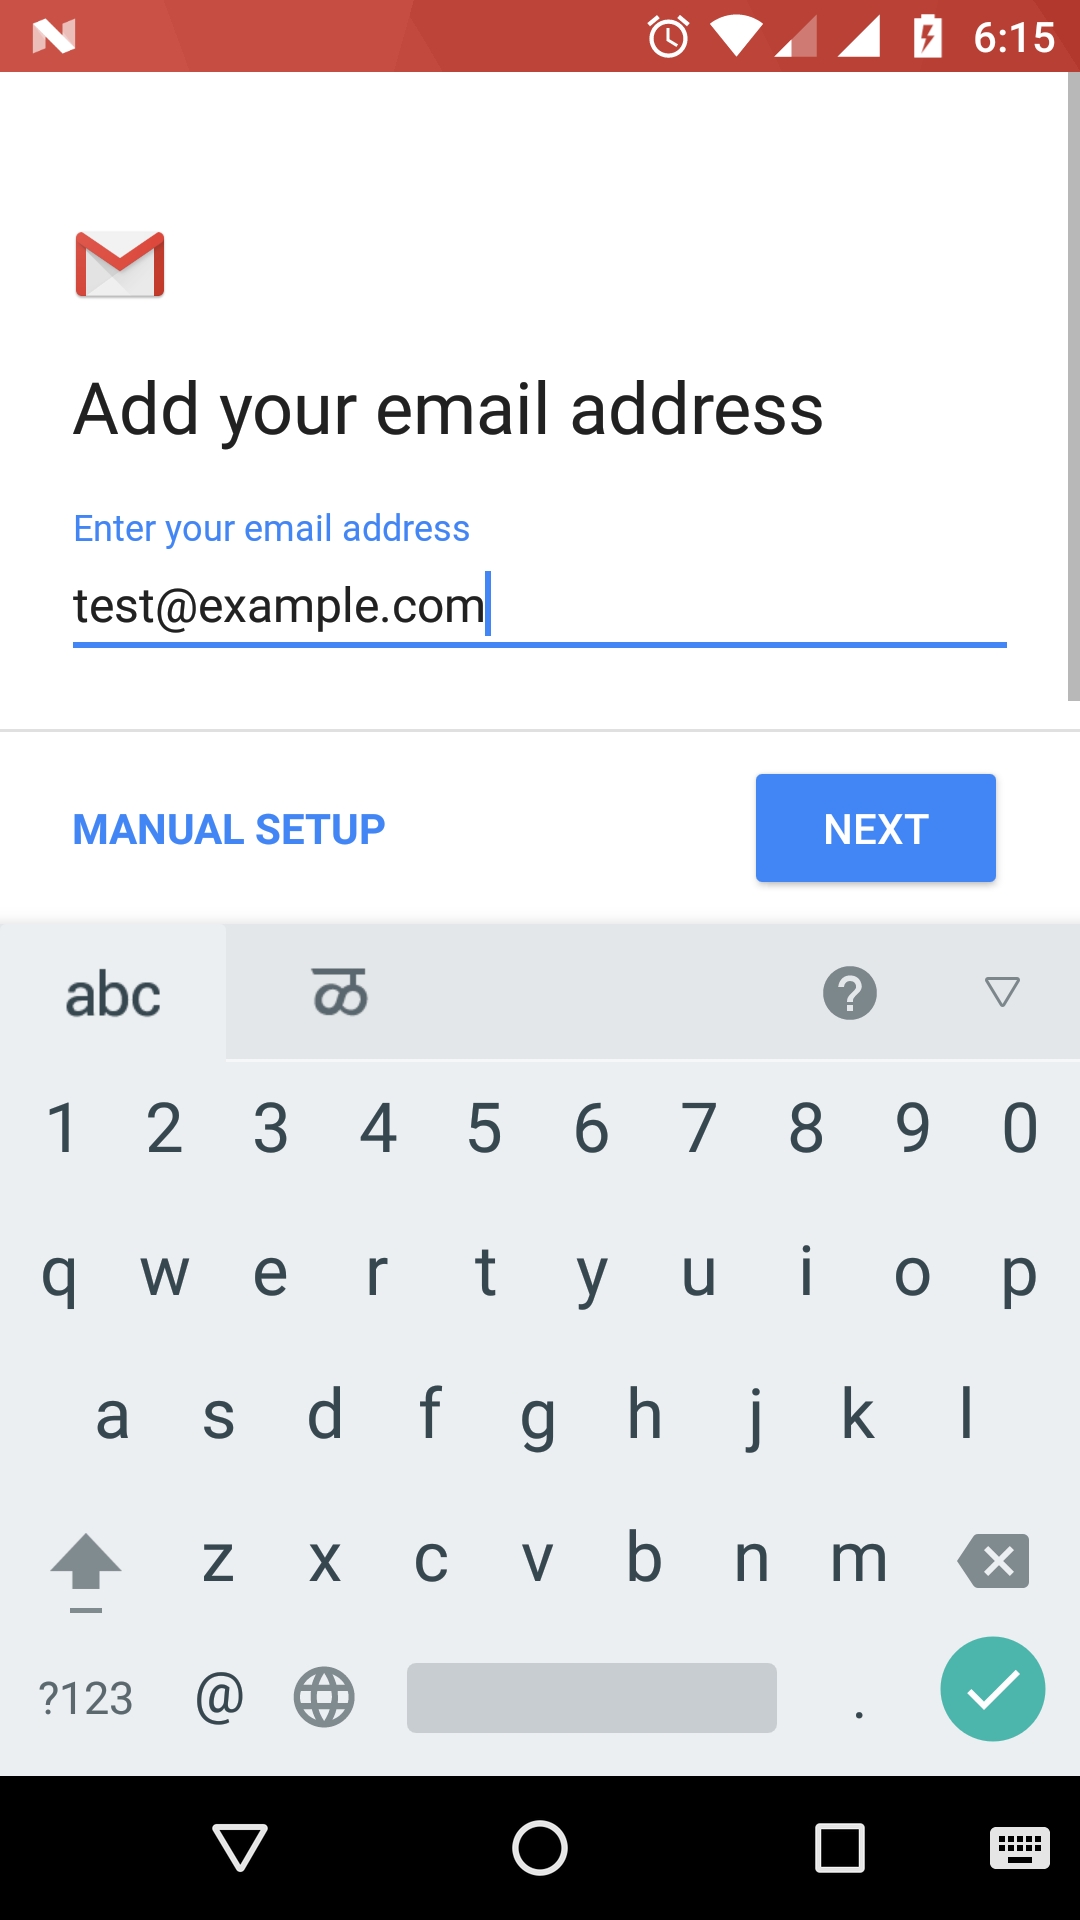
- Enter your full email address and press Next when finished.
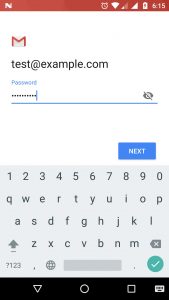
- Enter your password and press Next when finished.
- Enter the following incoming mail server information as follow and press Next when finished.
- Username: The Full email address you are trying to connect to
- Password: The password to that email address
- POP3 Server: mail.mydomain.com (be sure to input your actual domain name)
- Port: 110
- Security Type: None
- Delete Email From Server: Depends on your best judgment.
- Enter the following outgoing mail server information and press Next when finished.
- SMTP Server: mail.mydomain.com (be sure to input your actual domain name)
- Port: 587
- Security Type: None
- Require sign-in: Checked
- Username: The Full email address you are trying to connect to
- Password: The password to that email address
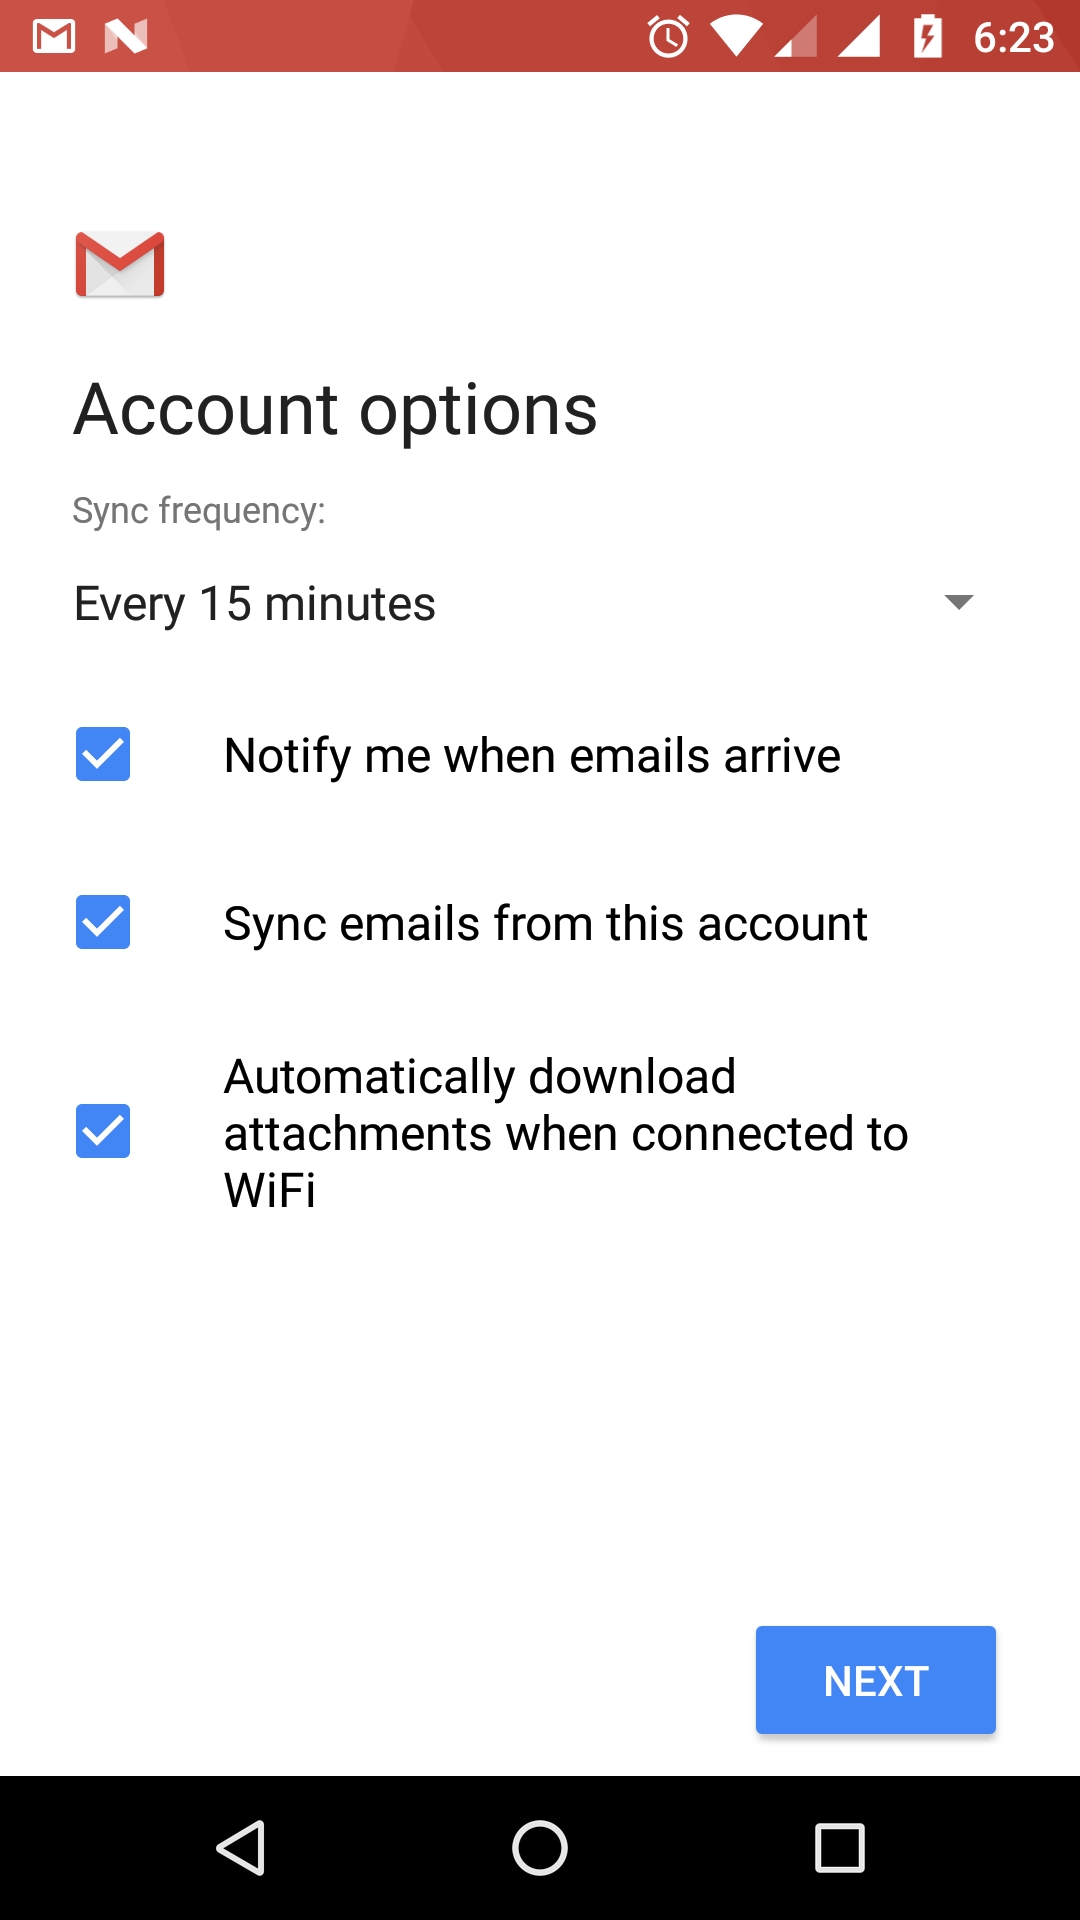
- Give this account a name and enter Your name. It is suggested to use your email address as the account name to differentiate it from any other e-mail accounts you may set up on your phone.
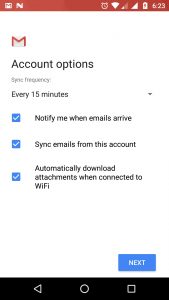
- You can now click the Email icon again to access your HostJelly e-mail account on your phone.
- The setup is complete. Your phone should download and display your recent emails in the application.
- Open your Android phone settings.

 99.99%
 15 Days
 100%
100%
 24x7x365


